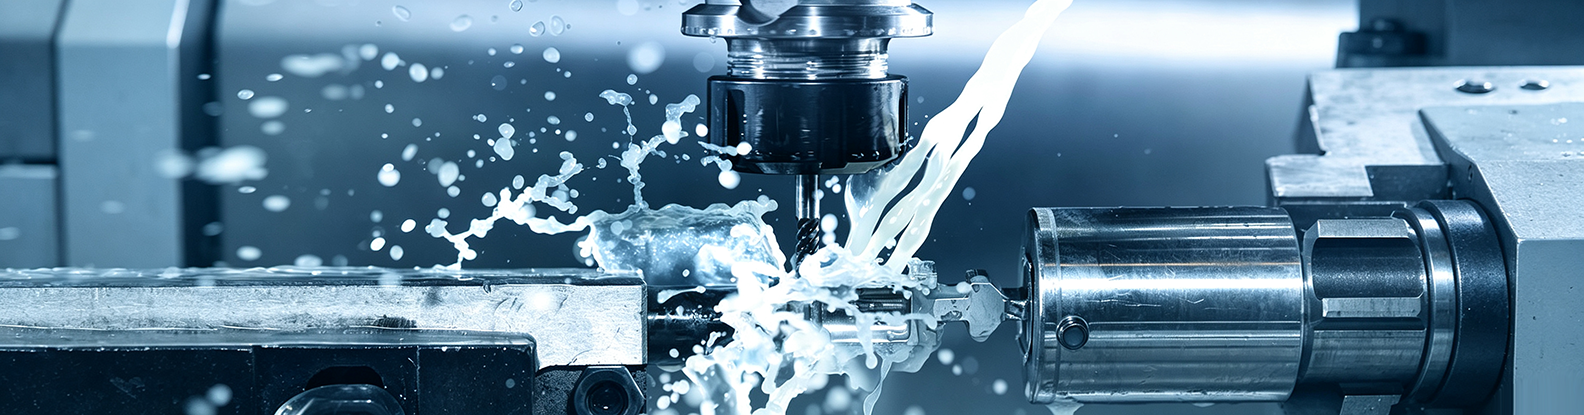
A 3D-printed part looks right in two days and misleads you for the next six months. FDM and SLA deliver shape fast, but the material is a polymer stand-in — stiffness, creep, thermal behavior, and failure mode all differ from the production alloy. That material gap makes every test inconclusive: a prototype that passes does not prove the production part will work, and one that fails does not prove the design is wrong.
CNC machining prototypes cut the same geometry from the same stock you will use in production, hold production tolerances (±0.005 mm is routine), and expose the same surface, thread, and assembly behavior the final part will see. The per-piece price is higher than printing, but the total cost is lower when one design iteration replaces three. This guide covers the decisions that actually move a prototype project: when CNC is the right call, which material to pick, how cost is built up, how fast you can get parts, and how to brief a supplier so the first lot passes.
Ⅰ. What Is a CNC Machining Prototype?
A CNC machining prototype is a functional part produced by subtractive machining — milling, turning, or mill-turn — from a solid block of production-grade material, typically in quantities of 1 to 500. No mold, no tooling investment, no weeks of waiting. You send a CAD file; a machine removes everything that is not the part.
The difference from production is volume strategy, not process. In production, tooling and setup costs amortize across thousands of units. In prototyping, the same setup, programming, and fixturing happen for one part — which is why a single prototype looks expensive per piece but cheap as a project, because it avoids the six-figure cost of cutting a mold for a design that is not yet frozen.
The difference from 3D printing is material truth. CNC removes stock metal or engineering plastic that matches the production bill of materials. A 6061-T6 prototype has 6061-T6 stiffness. A Ti-6Al-4V prototype has Ti-6Al-4V fatigue response. Printed substitutes do not.
Ⅱ. CNC Prototype vs 3D Printing vs Injection Molding vs Sheet Metal
Four processes compete for prototype budgets. Pick by what the prototype must prove, not by what is fastest.
| Process | Lead Time | Unit Cost | Material Fidelity | Tolerance | Best For |
|---|---|---|---|---|---|
| CNC machining | 1–7 days | High | Production-grade | ±0.005 mm | Functional testing, tight tolerance, small batch |
| 3D printing (FDM/SLA/SLS) | 1–3 days | Low | Polymer substitute | ±0.1 mm | Form, fit, concept validation |
| Injection molding | 2–6 weeks (tooling) | Low at volume | Production-grade | ±0.05 mm | 100+ plastic parts, design frozen |
| Sheet metal | 3–7 days | Medium | Production-grade | ±0.1 mm | Enclosures, brackets, thin-wall |
Selection logic:
- If the prototype must survive mechanical, thermal, or fatigue testing in the production material → CNC.
- If you only need to check shape and fit on a desk → 3D printing.
- If the design is frozen and you need 1,000+ plastic parts → injection molding.
- If the part is a thin-wall housing under 4 mm → sheet metal.
Most prototype projects that fail do so because the team optimized for lead time and got a part that could not answer the real test question.
Ⅲ. The CNC Prototype Process: 5 Steps
- CAD model — Deliver STEP or IGES. Watch wall thickness (metal ≥0.8 mm, plastic ≥1.5 mm), internal radii (cannot be smaller than the smallest cutter that will reach them), and undercuts that force a second setup.
- DFM review — Automated checks catch wall thickness, draft, and tolerance feasibility; an experienced engineer catches tool-access and fixturing problems the software misses. This is the step that prevents 80% of prototype failures.
- CAM programming — Toolpath strategy (3-axis vs 4-axis vs 5-axis), cutter selection, spindle speed, feed rate, and stock allowance for finishing passes. Complex geometries may need multi-axis or mill-turn.
- Machining — Roughing removes bulk material; finishing hits tolerance and surface spec. One setup is always preferred — every re-fixture adds tolerance stack-up and cost.
- Inspection — CMM measurement against the CAD, dimensional report, and visual check for surface defects. A reputable shop ships the inspection report with the part.
Ⅳ. Materials for CNC Prototypes
Material choice follows what the prototype must prove, not what sounds impressive.
| Category | Grades | Machinability | Cost | Key Property | Prototype Use |
|---|---|---|---|---|---|
| Aluminum | 6061, 7075, 5052, 2024 | Excellent (6061) to Good (7075) | Low–Medium | Strength-to-weight | General prototypes, housings, brackets |
| Stainless steel | 304, 316, 17-4PH, 303 | Medium (303) to Difficult (17-4PH) | Medium | Corrosion resistance, strength | Medical, food, marine, high-stress |
| Titanium | Grade 2, Grade 5 (Ti-6Al-4V) | Difficult | High | Strength, corrosion, biocompatibility | Aerospace, medical implants, performance |
| Copper / brass | C110, C360 | Good (brass) to Difficult (copper) | Medium | Conductivity, thermal | Electrical, heat sinks, decorative |
| Engineering plastic | POM, PEEK, ABS, PC, PTFE | Excellent (POM) to Medium (PEEK) | Low–High | Self-lubricating, insulating, chemical | Gears, housings, medical, jigs |
Selection principles:
- For form and fit checks where strength is not critical, 6061 aluminum or POM keeps cost down.
- For functional testing in the production alloy, match the production BOM exactly — a 6061 prototype tells you nothing about a 7075 part.
- For medical and aerospace, Grade 5 titanium and 17-4PH stainless are the defaults, and material certification (mill cert, traceability) matters as much as the geometry.
Ⅴ. Tolerances & Surface Finish
Tolerance drives cost more than any other single dimension on the drawing. Tightening a tolerance from ±0.025 mm to ±0.005 mm can double machining time on the affected feature.
| Tolerance Grade | Range | Cost Impact | When to Specify |
|---|---|---|---|
| Standard | ±0.025 mm (±0.001″) | Baseline | Non-mating features, cosmetic |
| Precision | ±0.005 mm (±0.0002″) | +30–50% | Mating interfaces, bearing seats |
| Ultra-precision | ±0.001 mm | +100%+ | Gauge, optic, critical alignment |
Surface finish options: anodizing (Type II for color, Type III for hard coat), bead blasting, passivation, electroless nickel plating, powder coating, silk-screen, laser engraving, and heat treatment (T6, quench and temper).
For prototypes, default to standard tolerance and as-machined finish unless a feature is being tested. Cosmetic finishing and tight tolerances on non-critical features burn budget without improving what the prototype teaches you.
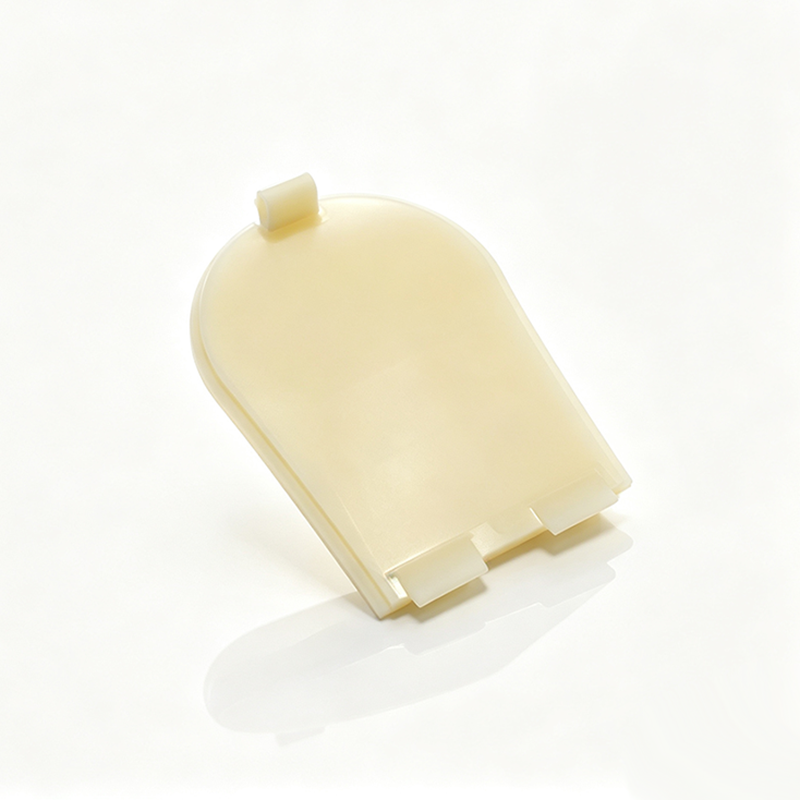
This high-quality CNC machining prototype features precise dimensions and smooth machined surfaces. It enables engineers to conduct functional tests, optimize structural designs and confirm specifications before large-scale mechanical component mass production.

Ⅵ. CNC Prototype Cost Breakdown
Understanding cost structure matters more than comparing quotes. A quote well below market usually reflects a difference somewhere — material spec, DFM depth, inspection scope, or equipment age. Understanding which of these is driving the price tells you whether the saving is real or whether it will show up later as a failed test.
| Cost Element | Share of Unit Price | Driver |
|---|---|---|
| Programming & machine time | 40–50% | Complexity, setup count, cycle time |
| Material | 20–30% | Alloy grade, stock size, availability |
| Tooling wear | 10–15% | Material hardness, tool diameter |
| Post-processing & inspection | 10–20% | Surface finish, tolerance, reporting |
Why a single part looks expensive: Programming, fixturing, and setup are one-time costs. On a 1-piece order, the full setup cost lands on that part. On a 10-piece order, it amortizes across ten. This is why 5 pieces of the same design often cost only 2–2.5× the price of 1.
Four levers to cut prototype cost:
- Simplify design — Standard internal radii, reduce deep pockets, avoid undercuts that force extra setups.
- Choose machinable material — 6061 aluminum costs roughly 30% less to machine than 7075 and is sufficient when ultimate tensile is not the test.
- Batch the order — Five pieces of one design run 30–40% lower unit cost than one.
- Relax non-critical tolerances — Apply ±0.025 mm everywhere except mating interfaces, where you specify ±0.005 mm explicitly.
Ⅶ. Lead Time: How Fast Can You Get Parts?
Lead time is a choice with a price tag. Shops run three practical tiers.
| Tier | Lead Time | Best For | Cost Premium |
|---|---|---|---|
| Expedited | 1–2 days | Design validation, urgent iteration | +30–50% |
| Standard | 3–5 days | Most prototype projects | Baseline |
| Economy | 5–7 days | Complex parts, post-processing, small batches | −10–15% |
What slows a part down: complex geometry requiring 5-axis or mill-turn, exotic material stock (titanium, high-nickel alloys), multi-step surface finishing (machining → anodize → silk-screen), and multiple fixtures. A simple 6061 bracket can ship in 24 hours. A 5-axis titanium housing with Type III anodizing realistically needs 7–10 days.
Pick expedited for the iteration that unblocks the next design decision. Pick economy for the final validation lot where a few extra days are worth the savings.
Ⅷ. When to Choose CNC Prototyping
Four tests decide it:
- Material fidelity is required — The prototype must be tested in the production alloy or the test result does not transfer.
- Tolerance is tighter than ±0.05 mm — 3D printing cannot hold it; CNC can.
- Quantity is 1 to 500 — Below the molding break-even, above the one-off print.
- The part is metal — Or a high-performance plastic (PEEK, POM) that printing cannot deliver.
Reverse the decision when: only shape is needed (3D printing wins), the design is frozen at 1,000+ plastic units (injection molding wins), or the part is a thin-wall enclosure (sheet metal wins).
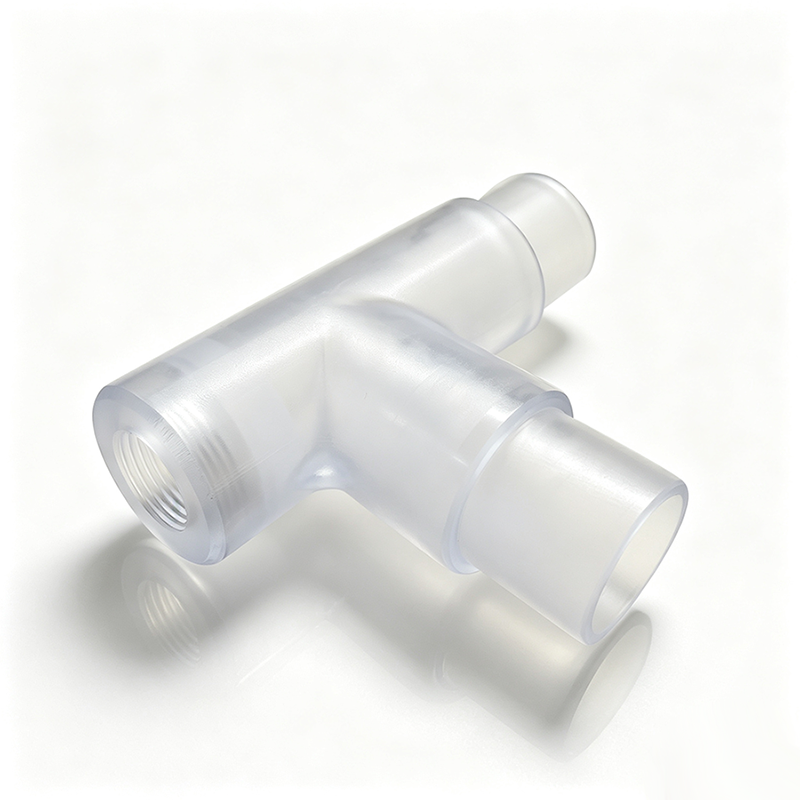
Expertly crafted CNC machining prototype delivers consistent dimensional accuracy and refined surface finish. It supports structural inspection and functional trials, helping mechanical engineers refine designs ahead of official component mass manufacturing.
Ⅸ. How to Choose a CNC Prototype Partner
A prototype shop fails projects more often through process gaps than through machine limits. Evaluate on four axes:
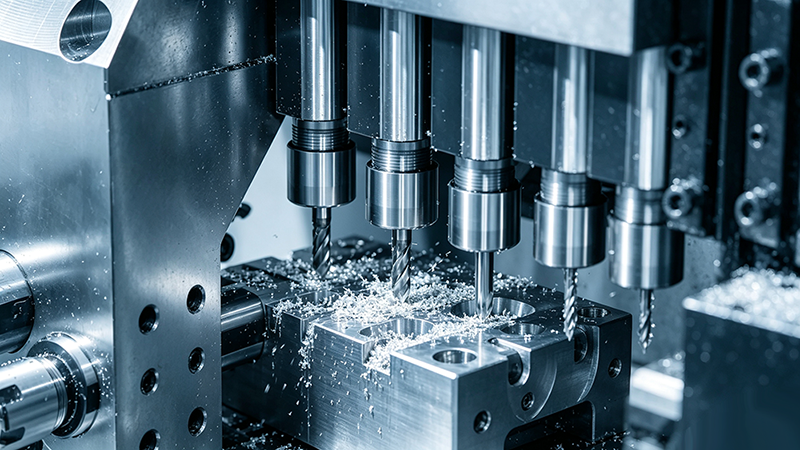
- Technical capability — 3/4/5-axis milling, turning, mill-turn; documented experience in your material; case studies on parts at your complexity.
- Quality system — ISO 9001 as baseline; ISO 13485 for medical; IATF 16949 for automotive; CMM inspection with dimensional report shipped with parts.
- Service — DFM feedback within 24 hours, quote transparency (material, machine time, finishing broken out), expedite capability, NDA on request.
- Scale flexibility — 1-piece minimum, capacity to extend into low-volume (50–500 pieces), and a path to bridge into production tooling when the design freezes.
Keywin operates a hybrid model — in-house factory plus vetted partner network — based in Shenzhen since 2009, running 3- to 5-axis milling, turning, and mill-turn with a 1-piece MOQ. The facility holds ISO 9001:2015, ISO 13485:2016, ISO 14001, and IATF 16949, which means the same process that prototypes your part can extend into low-volume production without re-qualifying a supplier.
Ⅹ. From Prototype to Production
A prototype project ends when the design is frozen and the test passes. The next decision is volume path.
- CNC low-volume (50–500 pieces) — Same process, amortized setup, no tooling investment. The bridge between working prototype and committed production.
- Molding break-even — For plastic parts, injection molding typically pays back between 100 and 500 units. For metal, die casting or investment casting pays back between 500 and 2,000 units, depending on geometry complexity and material.
- Transition trigger — When demand is confirmed at or above break-even and the design is frozen for 6+ months, move to tooling. Until then, CNC low-volume protects you against late design changes that would scrap a mold.
XI. Conclusion
CNC machining prototypes earn their cost by giving you a part that tells the truth. A production-grade material, held at production tolerance, tested in the real configuration, exposes design flaws while they are still cheap to fix. The same prototype that validates the design can extend into low-volume production without a supplier switch.
The levers that make prototype cost manageable are the same ones that make the part better: match the material to the test, relax tolerances except on mating interfaces, batch the order, and brief the shop with a clean STEP file and a clear DFM dialogue.
Upload your CAD to Keywin for an quote. We check wall thickness, tool access, internal radii, and tolerance risks before machining — so the first prototype passes the first test.
FAQ
How do I choose between expedited and standard lead time for my prototype?
Pick expedited (1–2 days, +30–50%) for the iteration that unblocks the next design decision — the cost premium is small compared to delaying the project. Pick standard (3–5 days, baseline) for most prototype work. Pick economy (5–7 days, −10–15%) for the final validation batch where a few extra days are worth the savings.
How much does a typical CNC prototype cost?
A single simple aluminum part typically runs $80–$300. Complex titanium or stainless parts with 5-axis machining and tight tolerances can reach $1,000–$5,000 or more per piece. Unit cost drops 30–40% when the same design is ordered in quantities of 5–10, because programming and setup amortize across the batch.
At what point should I switch from 3D printing to CNC for prototypes?
Switch from 3D printing to CNC when the prototype must survive mechanical, thermal, or fatigue testing in the production material. Use 3D printing during concept validation and form-fit checks. The typical transition point is when your testing requirement shifts from “does it look right” to “will it hold up.”
Should my prototype use the production alloy or a cheaper substitute?
Match the production alloy whenever the prototype is used for functional testing — a 6061 prototype tells you nothing about a 7075 part under load. Use a cheaper substitute (6061 aluminum, POM) only when the prototype is for form and fit checks where strength is not being evaluated.
What tolerance should I specify for a prototype?
Default to ±0.025 mm for non-mating features. Tighten to ±0.005 mm only on mating interfaces, bearing seats, and locating features that the test depends on. Ultra-precision (±0.001 mm) is rarely justified at prototype stage and roughly doubles machining cost on the affected features.
Can Keywin make both prototypes and low-volume production?
Yes. Keywin runs a 1-piece minimum and extends the same process into low-volume batches of 50–500 pieces without a supplier switch. The hybrid in-house plus partner-network model is built to bridge from first prototype through production tooling, so a validated design does not require onboarding a new supplier at the volume step.